在 Electron 中提供了消息存储模块,便于离线使用和提升用户体验,可以简单理解成将集成了 JavaScript SDK 的 HTML 嵌入到 Electron 中 便可得到 PC 端应用程序。
本篇教程会使用 Electron 框架结合 IM SDK 构建一个极简版的 PC IM 应用程序,让我们开始吧~
前期准备
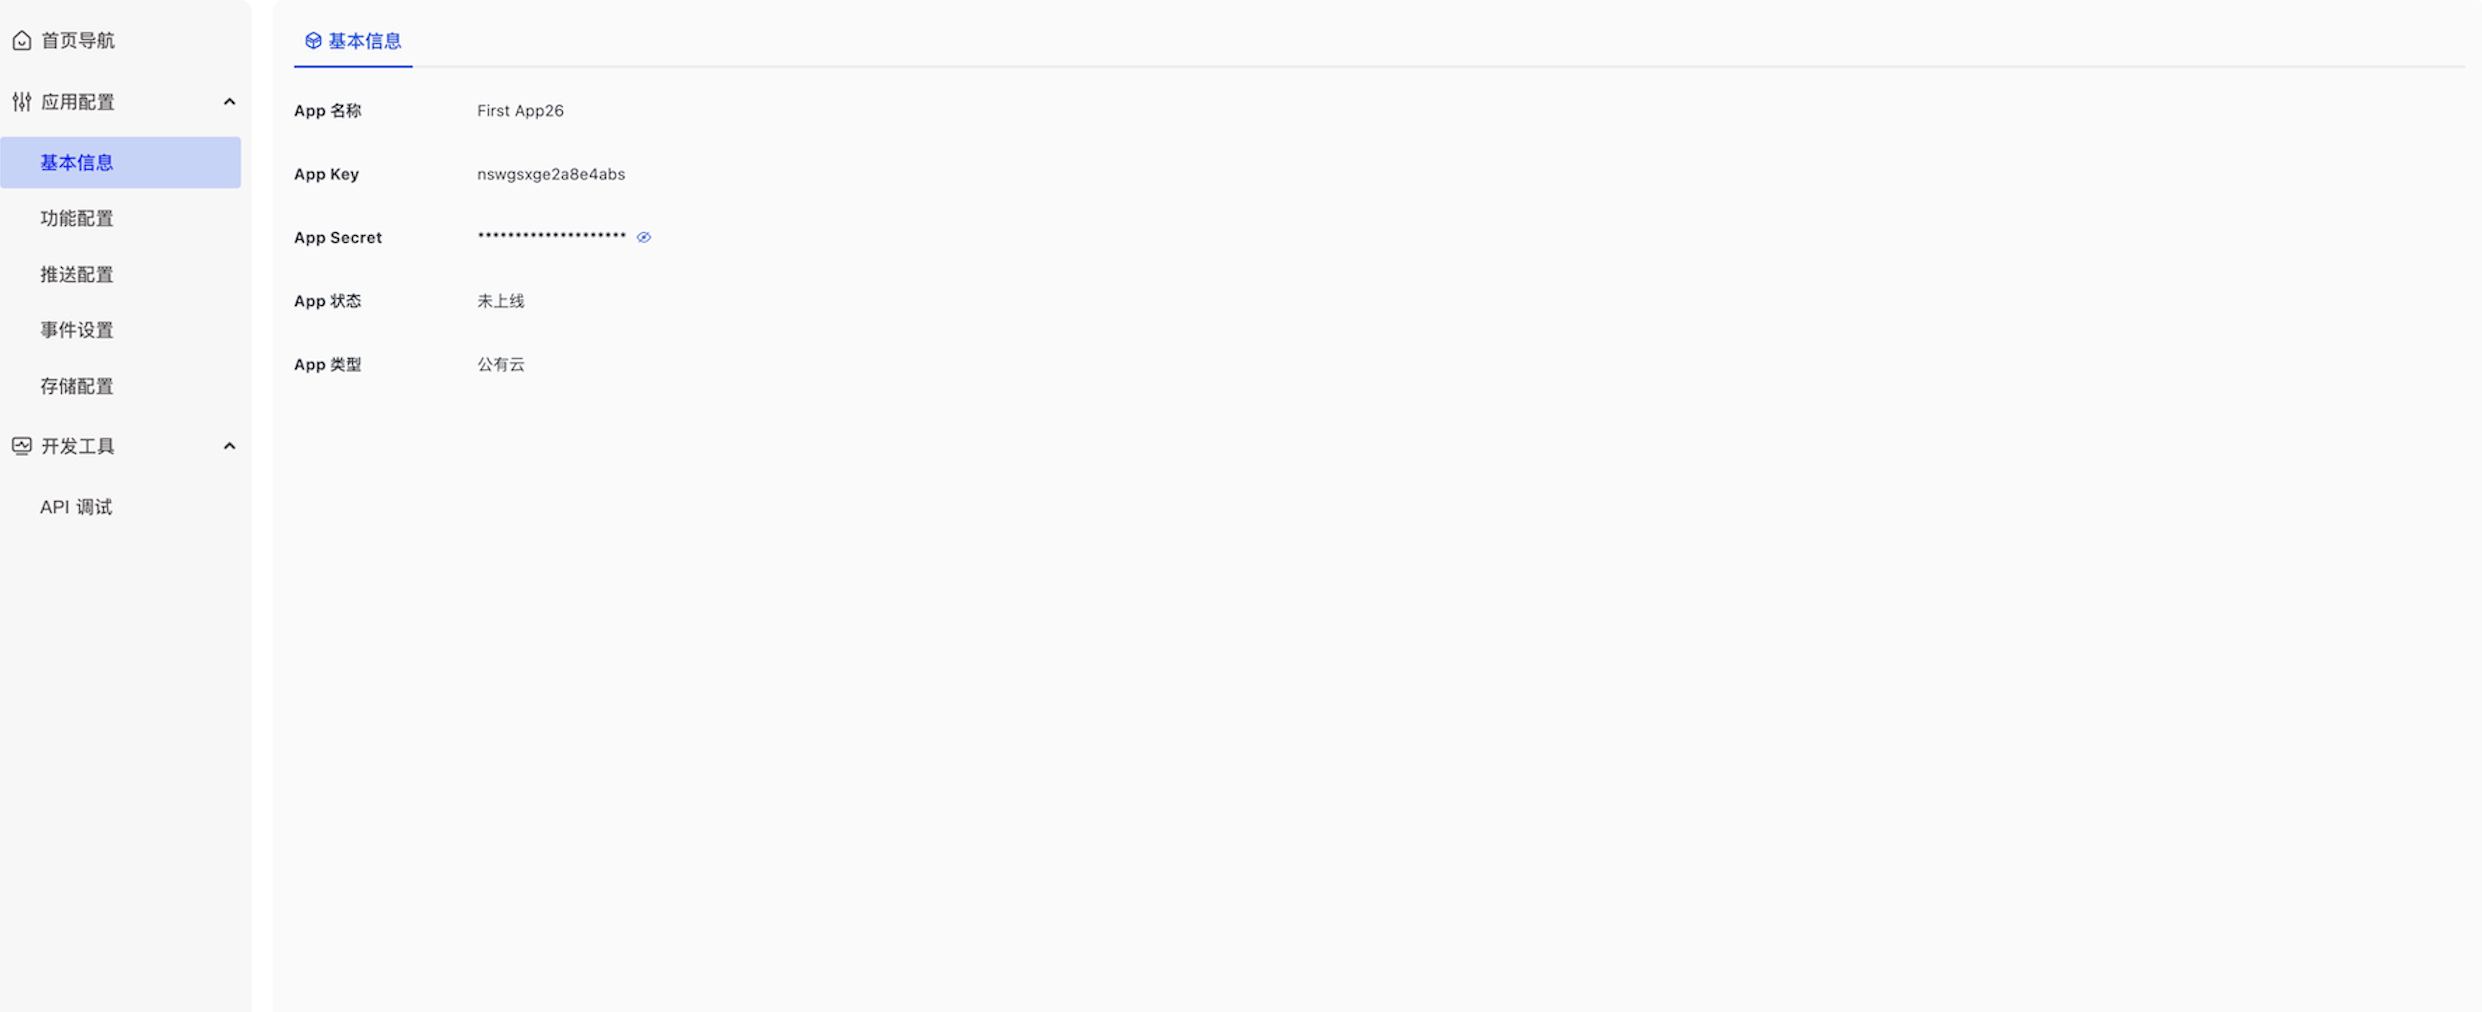
1、在 开发者后台 创建应用获取 AppKey 和 Secret。
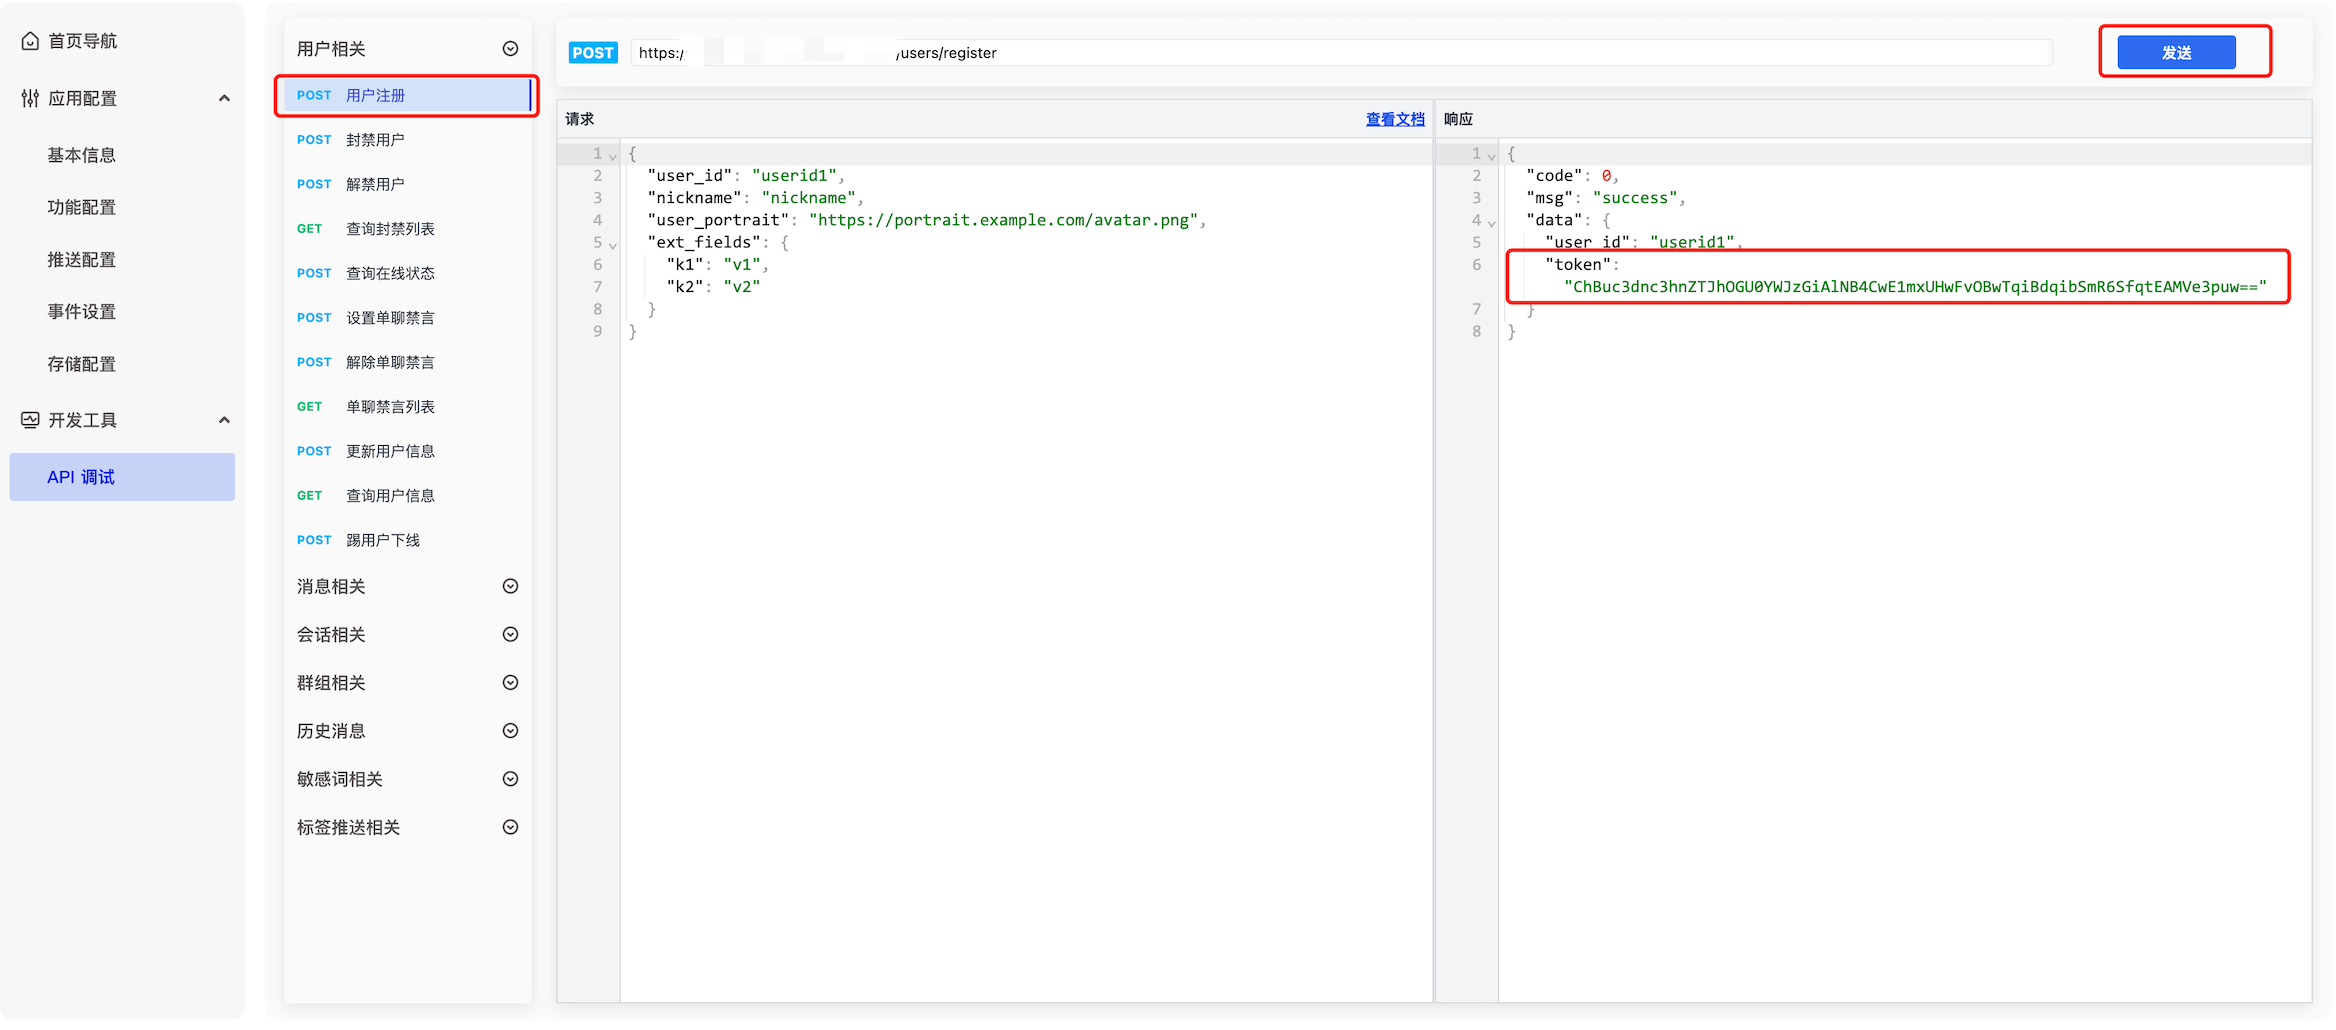
2、自己调用服务端 API 获取 Token 或在开发者后台的 -> 选择应用-> 开发工具 -> API -> 用户相关中,调用用户注册接口,获取两个测试 Token。
3、下载 juggleim-dev-1.9.0.zip , 将 juggleim-dev-1.9.0.js 放在 index.html 同级目录
4、根据集成文档逐步集成。
集成 Electron
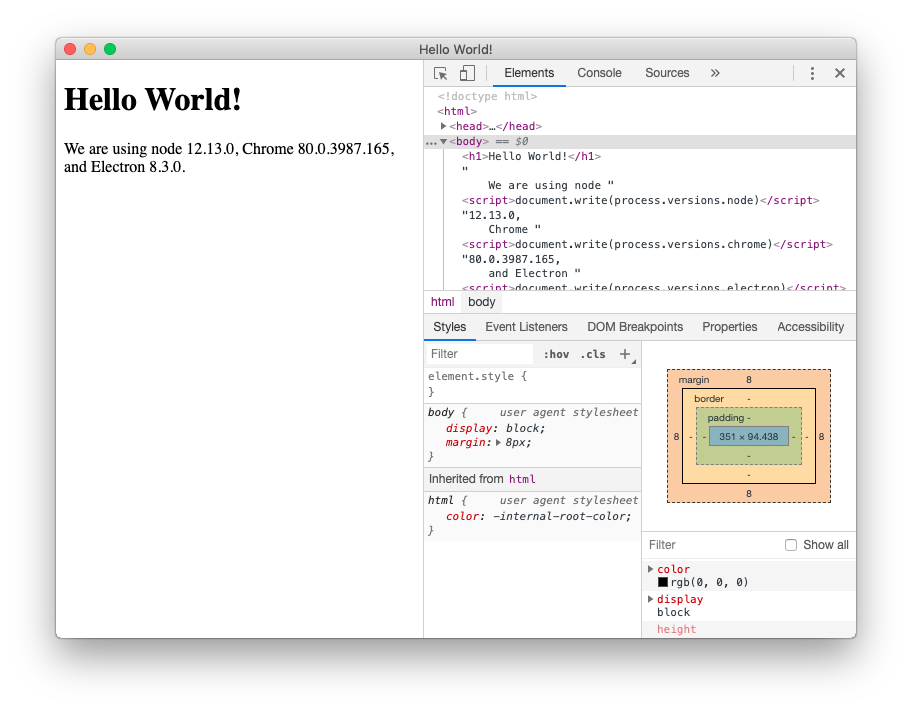
请参考 Electron 官方 快速集成 文档完成第一个极简的 HelloWorld 应用,如下图所示
成功运行 HelloWorld 应用程序后,会得到以下几个文件
main.js 程序主进程入口
preload.js 暴露给渲染进程的 API 方法,在此文件里与主进程进行通信
index.html Demo 页面
package.json 项目的依赖包及命令指令
引入 IM SDK
在 Electron 中 SDK 会自动检测并切换至本地存储模式,引入 IM SDK 有两步操作
第一步: 在 Web 页面中引入集成 JavaScript SDK,参考文档:Web 集成,将集成 Demo 页面内容替换到 HelloWorld 应用项目 index.html 中
第二步:
// (1)按装依赖
npm install jim-electron --save

// (2)在 mian.js 中引入
const JMain = require('jim-electron/main');

app.whenReady().then(() => {
  const win = new BrowserWindow({
    width: 800,
    height: 600,
    webPreferences: {
      // 【重要】一定设置为 true
      nodeIntegration: true,
      preload: path.join(__dirname, 'preload.js')
    }
  })
  win.loadFile('index.html');

  //打开调试工具
  win.webContents.openDevTools();
  JMain.init();
});

// (3)在 preload.js 中引入,无需其他操作
require('jim-electron/render');
完整代码
按装依赖包成功后,复制以下代码至 index.html、preload.js、main.js 文件中,最后在项目根目录执行 npm run start 预览
- index.html
- preload.js
- main.js
<!DOCTYPE html>
<html lang="en">
<head>
  <meta charset="UTF-8">
  <title>IM</title>
  <script src="./juggleim-dev-1.9.0.js"></script>
  <style>
    .container{
      height: 200px;
      width: 600px;
      background-color: rgb(119, 128, 226);
      margin: 200px auto;
      display: flex;
      align-items: center;
      justify-content: center;
      font-size: 40px;
      font-weight: bold;
      border-radius: 10px;
    }
  </style>
</head>
<body>
  <div class="container">请打开浏览器控制台查看结果</div>
  <script>
    // 准备基础信息
    let appkey = 'Your AppKey';
    let token = 'Your Token';
    // 私有化部署后的 WebSocket 域名或 IP
    let serverList = [
      'https://demo.im.com',
      'http://demo.im.com',
      'http://10.23.31.111:8080',
    ];
    // 步骤 1: 初始化 SDK, 全局只需初始化一次
    let jim = JIM.init({ appkey, serverList });
    let { Event, ConnectionState, ConversationType, MessageType } = JIM;

    // 步骤 2: 设置状态监听,全局只需设置一次
    jim.on(Event.STATE_CHANGED, ({ state, user }) => {
      if(ConnectionState.CONNECTING == state){
        console.log('im is connecting');
      }
      if(ConnectionState.CONNECTED == state){
        // user => { id: 'xxx' }
        console.log('im is connected', user);
      }
      if(ConnectionState.DISCONNECTED == state){
        console.log('im is disconnected');
      }
    });

    // 步骤 3: 设置消息监听,全局只需设置一次
    jim.on(Event.MESSAGE_RECEIVED, (message) => {
      console.log(message);
    });

    // 步骤 4: 连接,全局只需调用一次,消息相关、会话相关接口必须连接成功后才可调用
    jim.connect({ token }).then((result) => {
      console.log(result)
    }, (error) => {
      console.log(error)
    });
  </script>
</body>
</html>
require('jim-electron/render');
const { app, BrowserWindow } = require('electron/main')
const path = require('node:path')
const JGMain = require('jim-electron/main');
function createWindow () {
  const win = new BrowserWindow({
    width: 800,
    height: 600,
    webPreferences: {
      nodeIntegration: true,
      preload: path.join(__dirname, 'preload.js')
    }
  })

  win.loadFile('index.html')
  win.webContents.openDevTools();
}

app.whenReady().then(() => {
  createWindow()
  JGMain.init();
})

app.on('window-all-closed', () => {
  if (process.platform !== 'darwin') {
    app.quit()
  }
})
预览项目
npm run start